lightbulb_outline Select from any of the available modules to continue the demo.
Core Tactical Principles
These modules focus on core principles and are not designed for a specific formation or style of play.


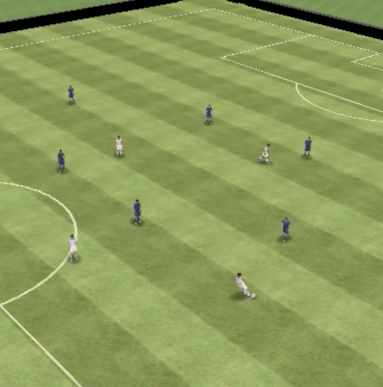


Set Pieces
These modules focus on various types of set pieces on both the attacking and defending side.

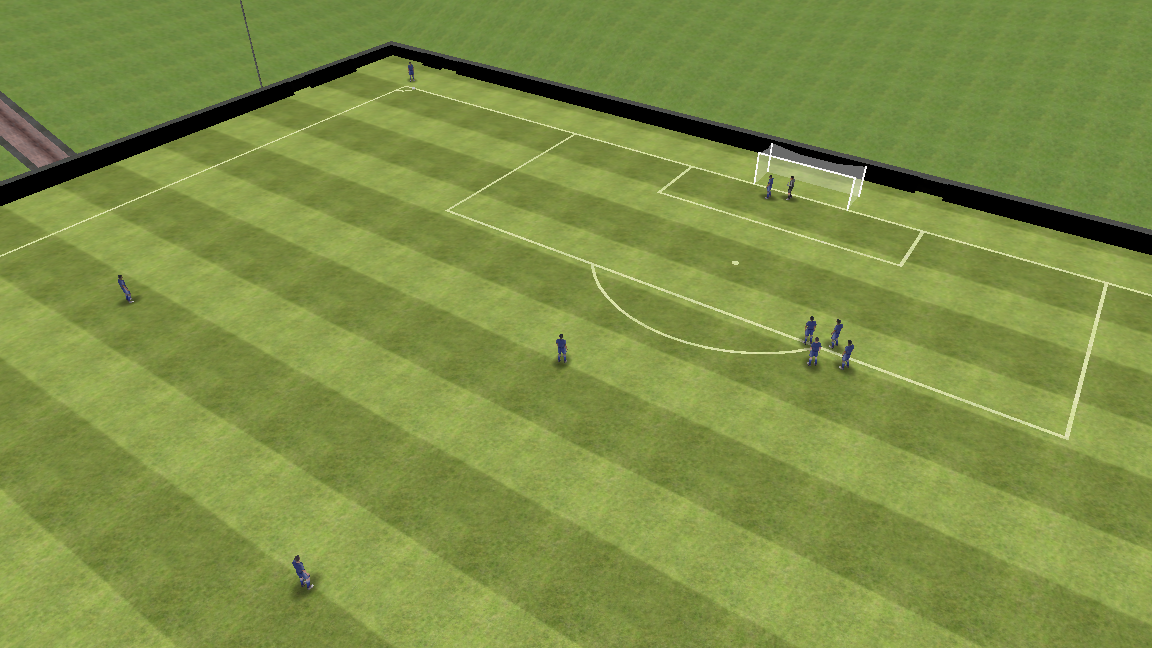
Goalkeeper
These modules will focus on key fundamentals needed to be a successful goalkeeper. Topics covered will include shot-stopping, distribution, dealing with crosses, and more.


Formation-Specific Topics
-
chevron_right4-3-3
Principles of Play
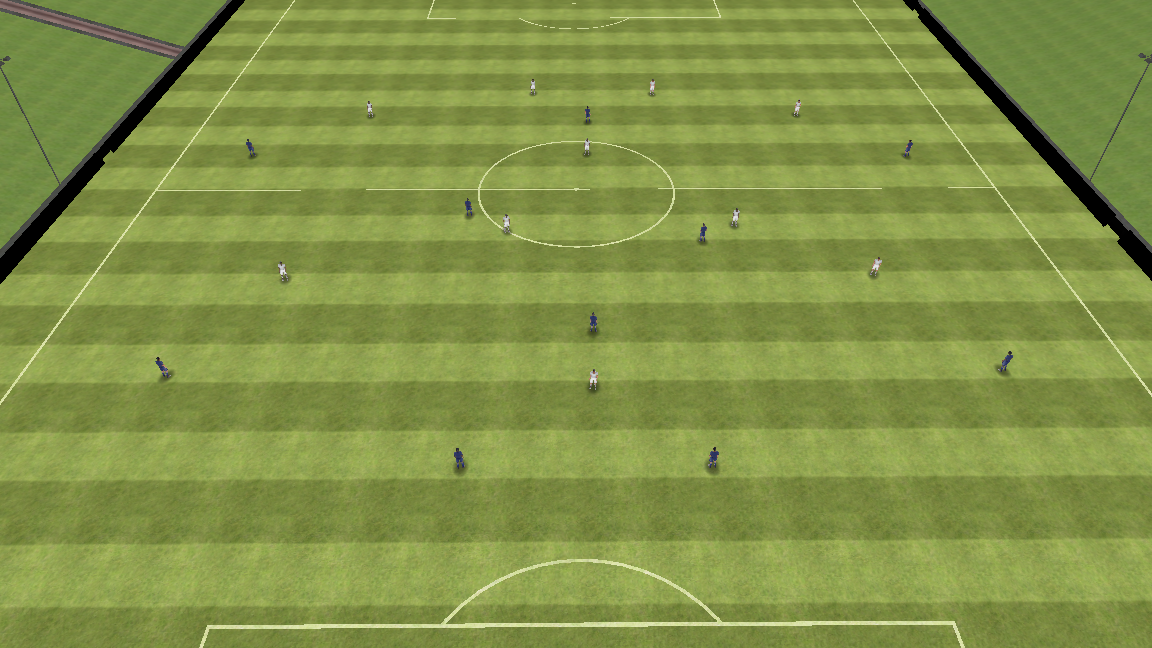 Introduction to a 4-3-3lock Locked
 Defensive Strengths and Weaknesses (4-3-3)lock Locked
 Attacking Strengths and Weaknesses (4-3-3)lock Locked
 Defensive Shape (4-3-3)lock Locked
 Attacking Shape (4-3-3)lock Locked
Positional Roles
 Role of the 2 and 3 (4-3-3)lock Locked
 Role of the 4 and 5 (4-3-3)lock Locked
 Role of the 7 and 11 (4-3-3)lock Locked
 Role of the 9 (4-3-3)lock Locked
 Role of the 10 (4-3-3)lock Locked
 Role of the 8 (4-3-3)lock Locked
 -
chevron_right4-4-2 (Flat)
Principles of Play
 Introduction to a 4-4-2 (Flat Midfield)lock Locked
 Defensive Strengths and Weaknesses (4-4-2 Flat)lock Locked
 Attacking Strengths and Weaknesses (4-4-2 Flat)lock Locked
Positional Roles
 Role of the 2 and 3 (4-4-2 Flat)lock Locked
 Role of the 4 and 5 (4-4-2 Flat)lock Locked
 Role of the 7 and 11(4-4-2 Flat)lock Locked
 Role of the 10 (4-4-2 Flat)lock Locked
 Role of the 9 (4-4-2 Flat)lock Locked
 -
chevron_right4-2-3-1
Principles of Play
 Introduction to a 4-2-3-1lock Locked
 Defensive Strengths and Weaknesses (4-2-3-1)lock Locked
 Attacking Strengths and Weaknesses (4-2-3-1)lock Locked
 Defensive Shape (4-2-3-1)lock Locked
 Attacking Shape (4-2-3-1)lock Locked
Positional Roles
 Role of the 2 and 3 (4-2-3-1)lock Locked
 Role of the 4 and 5 (4-2-3-1)lock Locked
 Role of the 6 (4-2-3-1)lock Locked
 Role of the 8 (4-2-3-1)lock Locked
 Role of the 7 and 11 (4-2-3-1)lock Locked
 Role of the 9 (4-2-3-1)lock Locked
 -
chevron_right3-5-2
Principles of Play
 Introduction to a 3-5-2lock Locked
 Defensive Strengths and Weaknesses (3-5-2)lock Locked
 Attacking Strengths and Weaknesses (3-5-2)lock Locked
Core Tactical Principles
These modules focus on core principles and are not designed for a specific formation or style of play.


Goalkeeper
These modules will focus on key fundamentals needed to be a successful goalkeeper. Topics covered will include shot-stopping, distribution, dealing with crosses, and more.


Formation-Specific Topics
-
chevron_right3-1-3-1
Principles of Play
 Introduction to a 3-1-3-1lock Locked
 Defensive Strengths and Weaknesses (3-1-3-1)lock Locked
 Attacking Strengths and Weaknesses (3-1-3-1)lock Locked
Positional Roles
 Role of the 2 and 3 (3-1-3-1)lock Locked
 Role of the 4 (3-1-3-1)lock Locked
 Role of the 6 (3-1-3-1)lock Locked
 Role of the 7 and 11 (3-1-3-1)lock Locked
 Role of the 10 (3-1-3-1)lock Locked
Core Tactical Principles
These modules focus on core principles and are not designed for a specific formation or style of play.




Formation-Specific Topics
-
chevron_right2-3-1
Principles of Play
 Introduction to a 2-3-1lock Locked
 Defensive Strengths and Weaknesses (2-3-1)lock Locked
 Attacking Strengths and Weaknesses (2-3-1)lock Locked
 Defensive Shape (2-3-1)lock Locked
 Attacking Shape (2-3-1)lock Locked
Positional Roles
 Role of the 4 and 5 (2-3-1)lock Locked
 Role of the 8 (2-3-1)lock Locked
 Role of the 7 and 11 (2-3-1)lock Locked
 Role of the 9 (2-3-1)lock Locked


